IDE 100/133 HDD CD DVD to SATA Bidirational Converter Adapter with Cables
IDE 100/133 HDD CD DVD to SATA Bidirational Converter Adapter with Cables
Regular price
£6.99
Regular price
Sale price
£6.99
Taxes included.
Quantity
Couldn't load pickup availability
Features:
- Ideal tool for data backups, recovery and transferring
- Using this adapter, you can convert all Serial ATA type
- devices CD-ROM/ CD-RW/ DVD/ DVD-RAM/ HDD into a new IDE device
- or using this adapter convert all IDE type devices CD-ROM/ CD-RW/ DVD/ DVD-RAM/ HDD into a new Serial ATA device
- Provide a high performance, economic and reliable solution to
- use peripherals with Serial ATA interface
- Support the Serial ATA transfer rate of 1.5 Gb/s (150 MB/s) on the serial side and is compatible with ultra ATA-133 on the parallel ATA side
- Mini board size, no space wasted
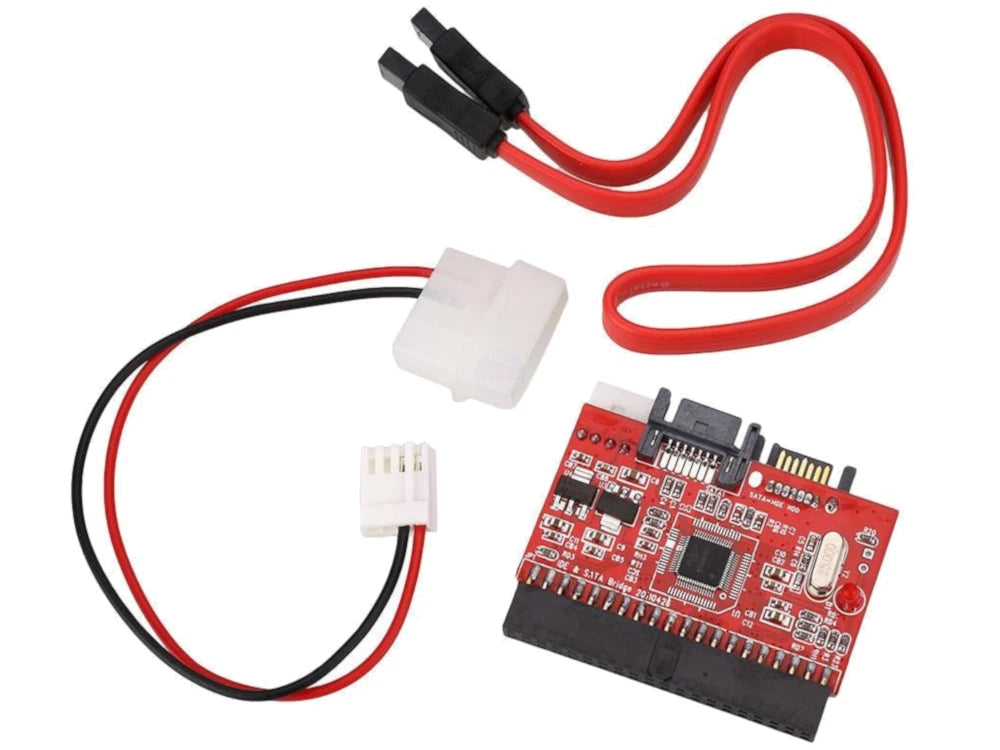
- One 40 pin IDE port
- One 4 pin power connector
- One Serial ATA port
- Convert parallel ATA to Serial ATA
- Support ATA 100/133
- Compliant with Serial ATA specification
- Data transfer rate up to 150 Mbps
- Support IDE drive larger than 240GB
- Power cable with 4 pin power connector
- Plug and play
- Support Windows 98/ SE/ ME/ 2000/ XP/ Vista / 7 / 8 / 10 / 11
Packing content:
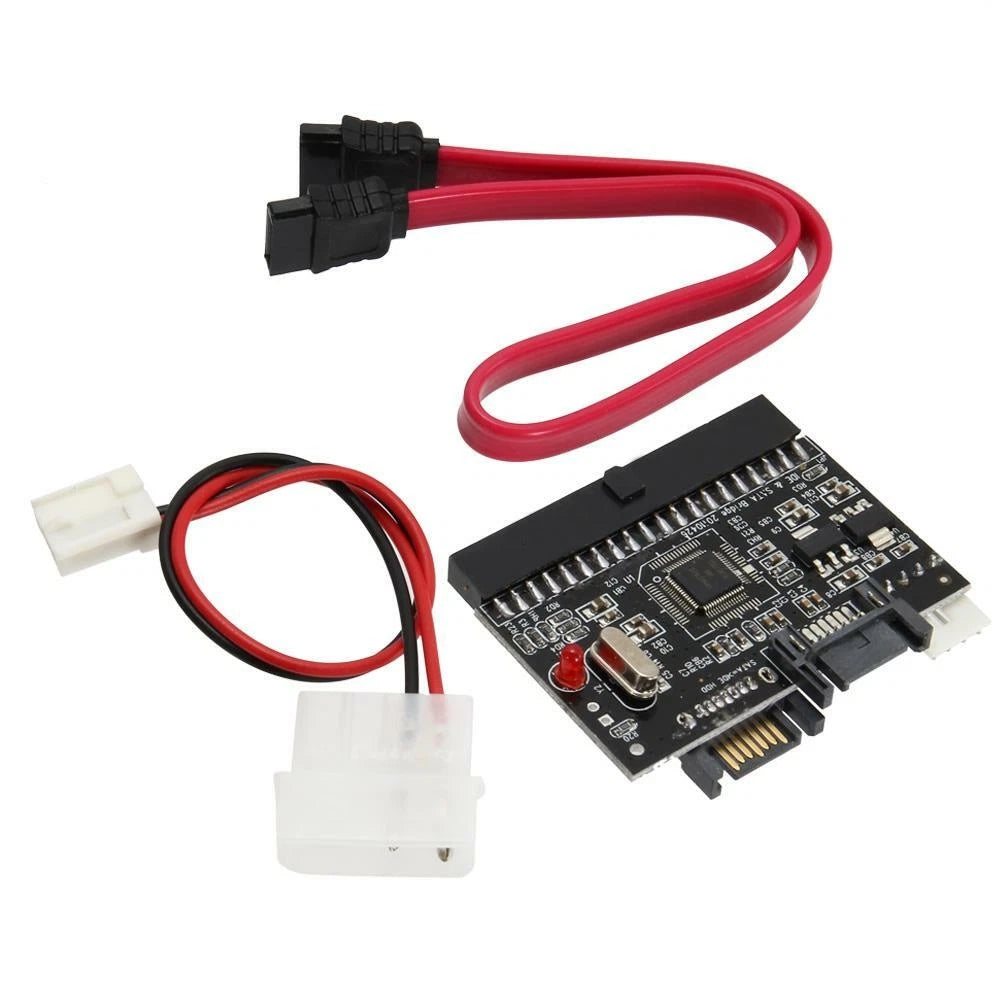
- 1 x IDE to SATA Converter
- 1 x SATA Cable
- 1 x Power Cable
Instructions for Windows 10:
- All you do is fit the SATA cable from the HDD or DVD player to the SATA fitting at the END of the adapter card, power them both, and Windows 10 should recognise the HDD or DVD player automatically. Windows before 10 (7, 8) may need the further process described below
- The user must insert the IDE connector on the adapter starting at the LEFT end of the IDE socket - the IDE connector on the adapter is shorter then the standard socket !!
- It's simple - put the LEFT END of the adapter into the IDE socket on the main board FIRST, hard up against the LEFT END of the socket, then push the rest of the adapter into the socket.
- At the RIGHT END of the socket there will be a gap of 1-2mm and no pins visible.
- This is correct, and the connected device should be recognised by the BIOS and Windows, and work !!
- The correct way to fit it is to line up *exactly* the projection on the side of the IDE connector with the gap of about 5mm in the middle of the socket. There will be small gaps at both ends but the adapter should then work. Mine works perfectly again now
- Further to the useful installation information that you have on the listing, you might want to add that some drives might need the jumper moving from the MA (master) or SL (slave) position, to the CS (cable select) pin position
Instructions for Windows 7:
- Molex power cable to HDD AND converter board.
- SATA cable to middle connector, the one that is higher than the others with LED uppermost.
- Jumper set to Master.
- Go to Control Panel - System and Security - Administrative Tools - Computer Management - Disk Management. It should show up in the list, right click your drive and select "Change Drive Letter and Paths..." and give your HDD the letter of your choice. You have to do this even if it had a letter from a previous PC.
- You can then find it in File Explorer or whatever you use, I use xplorer2.
- This is on a Windows 7 64 bit PC.


.
YOU MAY ALSO LIKE


.